The most basic setting when creating a cut file is the path offset. This value can be positive, negative, or zero, all depending on what you’re trying to achieve. Let’s talk about these in order:
Positive Path Offset
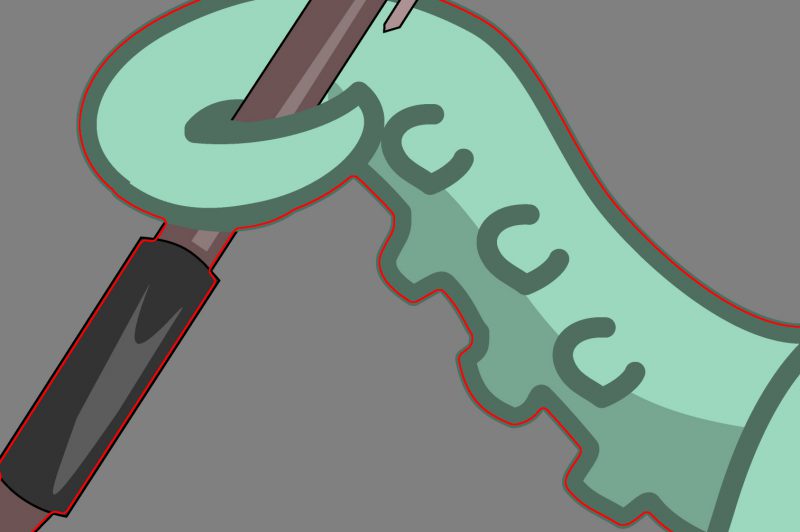
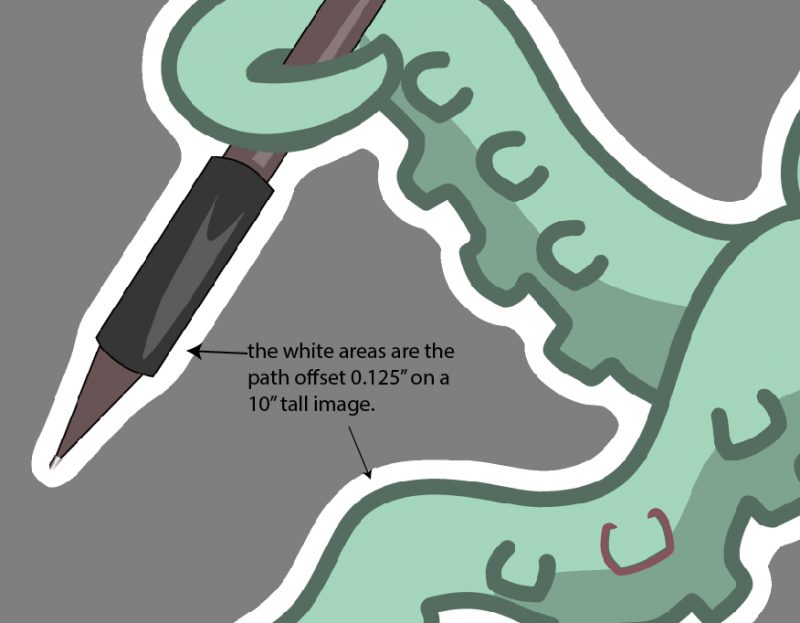
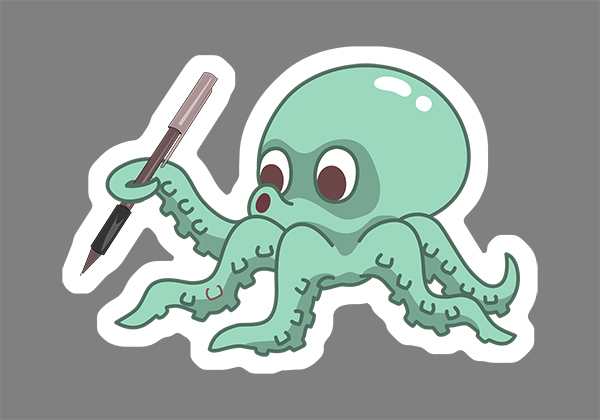
This is the most common setting when creating stickers. This adds the specified amount of border around the image smoothing it out, making it easier to cut. An example of a typical 1/8th inch offset for a sticker file:
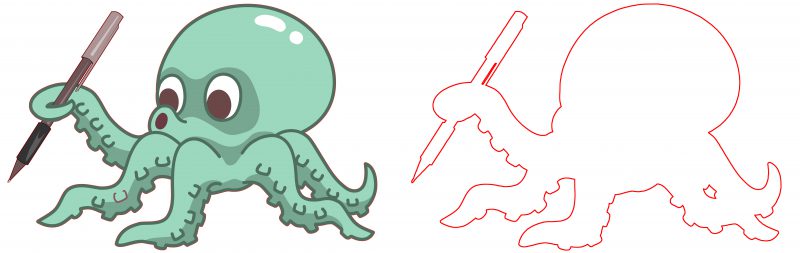
 Sometimes though you would like to achieve more than an easy to cut file and have it also be easy to weed. Increasing the path offset will cause the various parts of the shape to weld together into one big shape. Here is the same image with 1/2″ of path offset added, see how all the internal areas close in to make one easy cutout of the shape.
More than just making files easier to cut and weed you can also use path offset to weld together separate objects in an image, like this text plus image below:

Zero Path Offset
Zero path offset is for when you want an exact trace of a shape. Maybe you have an oval, circle, or square and that’s what you want the output to be, exactly as the image file appears. Zero path offset isn’t always great for print and cut because you won’t have any bleed area, but if you’re cutting solid color vinyl it’s the perfect setting. Below is an example of a single color file with zero path offset:
Getting a good trace from zero offset can be hard due to image artifacts. You’ll definitely want to play with the advanced settings. You want to have a high quality 300dpi file for the best results. If you don’t have a high quality file then you will want to increase the “Line Deviation” in advanced settings. The default setting is .0045″ which is 1.35 pixels at 300 dpi. If your file is 100 dpi you want to triple this to 0.015, and if it’s a bit jagged, double it again to 0.03″ and you will get smooth results. If your file has a lot of straight lines you’re hoping to preserve also adjust the “Preserve Angles Sharper Than” setting to a lower angle, the default of 1.05 is about 60 degrees, lower this to 0.50 or less. If you lower the sharp angles value to zero the file you get will be nothing but straight lines but they will be very close to the source material and in many cases may be your best bet. Creating a high quality exact cut file can be challenging and ultimately that is one of the reasons we offer paid services.
Negative Path Offset
Negative path offset turns your graphics into “Full Bleed” graphics. Bleed just means that something gets cut off. If you add a color outline to your image, or have an image that can afford to lose a bit of the edge, then setting a negative offset will ensure you don’t have white edges on the image. Try a small value like 0.06″, which is 1/16th an inch, and you’d be surprised how well it works with most images. adding a bleed region by negative offset will not only make your final product looks nicer it will also help smooth out the cut path in the same way a positive offset does.